
My digital planner used to consist mainly of jumbled scribbles, messy notes, and a faint desire to finally write more beautifully. Unfortunately, I wasn't born with a calligraphic master's handwriting—but luckily, there are solutions for that now! And yes, I'm talking about beautiful fonts that are easy to install on the iPad and use in programs like Goodnotes .
Since I've been working with these fonts regularly, planning has become twice as much fun. The pages look tidy, stylish, and structured—and that, in turn, brings true inner peace (planner fans know what I'm talking about 😌).
In this post, I'll show you step-by-step how to find free fonts using the DaFont platform and easily install them on your iPad using the iFont app . I'll also share my personal favorite fonts – and why fonts make a difference not only visually but also emotionally.
Step 1: Find and download fonts – with the iFont app
First you need the app iFont , which you can find for free in the App Store. 
-
Open iFont on your iPad.
-
Tap Font Finder in the left menu and select the DaFont platform .


-
DaFont provides you with countless free fonts – ideal for personal use.
💡 You can also use other platforms in iFont, but DaFont is, in my opinion, the clearest and most reliable source.
Step 2: Select the appropriate font 
Imagine, for example, that you are a teacher and are looking for a school-style font – then you can easily filter by topic:
-
Click on Topics at the top and select, for example, "School," or enter a relevant term in the search bar.
-
You will now see all matching fonts in this category.

-
Try playing through the whole thing using the font “Letters for Learners” as an example.

Before downloading, check the following:
👉 Does the font contain umlauts? 
Many free fonts are tailored to the English-speaking market and don't include ä, ö, ü, or ß . Simply enter a sample text with umlauts and numbers in the preview field and click Submit .
If characters are missing, you can:
-
either search in DaFont until you find a suitable variant,
-
live with a limited version,
-
or use paid fonts.
Step 3: Download & import the font
Once you have decided on a font:
-
Click Download .
-
In the new window, select only the main font (e.g., “Letters for Learners Regular”) and tap Import .
-
The font now appears under Imported Fonts in the app.
Step 4: Installation on the iPad
-
Click Continue > Install > Allow

-
Open iPad Settings .

-
Go to Profile loaded (alternatively General > VPN & Device Management ).

-
Tap Install and follow the instructions.

-
If a device code is required, enter it and confirm the process.
Step 5: Use font in Goodnotes
-
Now open Goodnotes .
-
Click on a text field and select your new font under Fonts.

-
If it doesn't appear, close the app and reopen it. If that doesn't work, we recommend restarting your device.
💡 Tip: You can save the font as a favorite and activate the scribble function – then it will be used automatically when you open a new text field.
Free fonts from DaFont - My favorites

Here are my personal favorite fonts, which you can download for free from DaFont – I use all five regularly in Goodnotes:
-
A Little Sunshine - One of my favorites for everyday planning.
-
Andaray - This font has a certain elegance—almost a bit classy, without being over the top. I like to use it for quotes or special pages in my digital journal.
-
Moonbright Inline – I like to use this font for headings. It's especially popular in my digital recipe book!
-
Mala's Handwriting - It's pretty close to my own handwriting - only neater 😅 I really like using it for entries in my digital mindfulness journal.
-
Letters for Learners - When I was still working in school, this was my absolute favorite when it came to designing worksheets or entries in my digital teacher calendar!
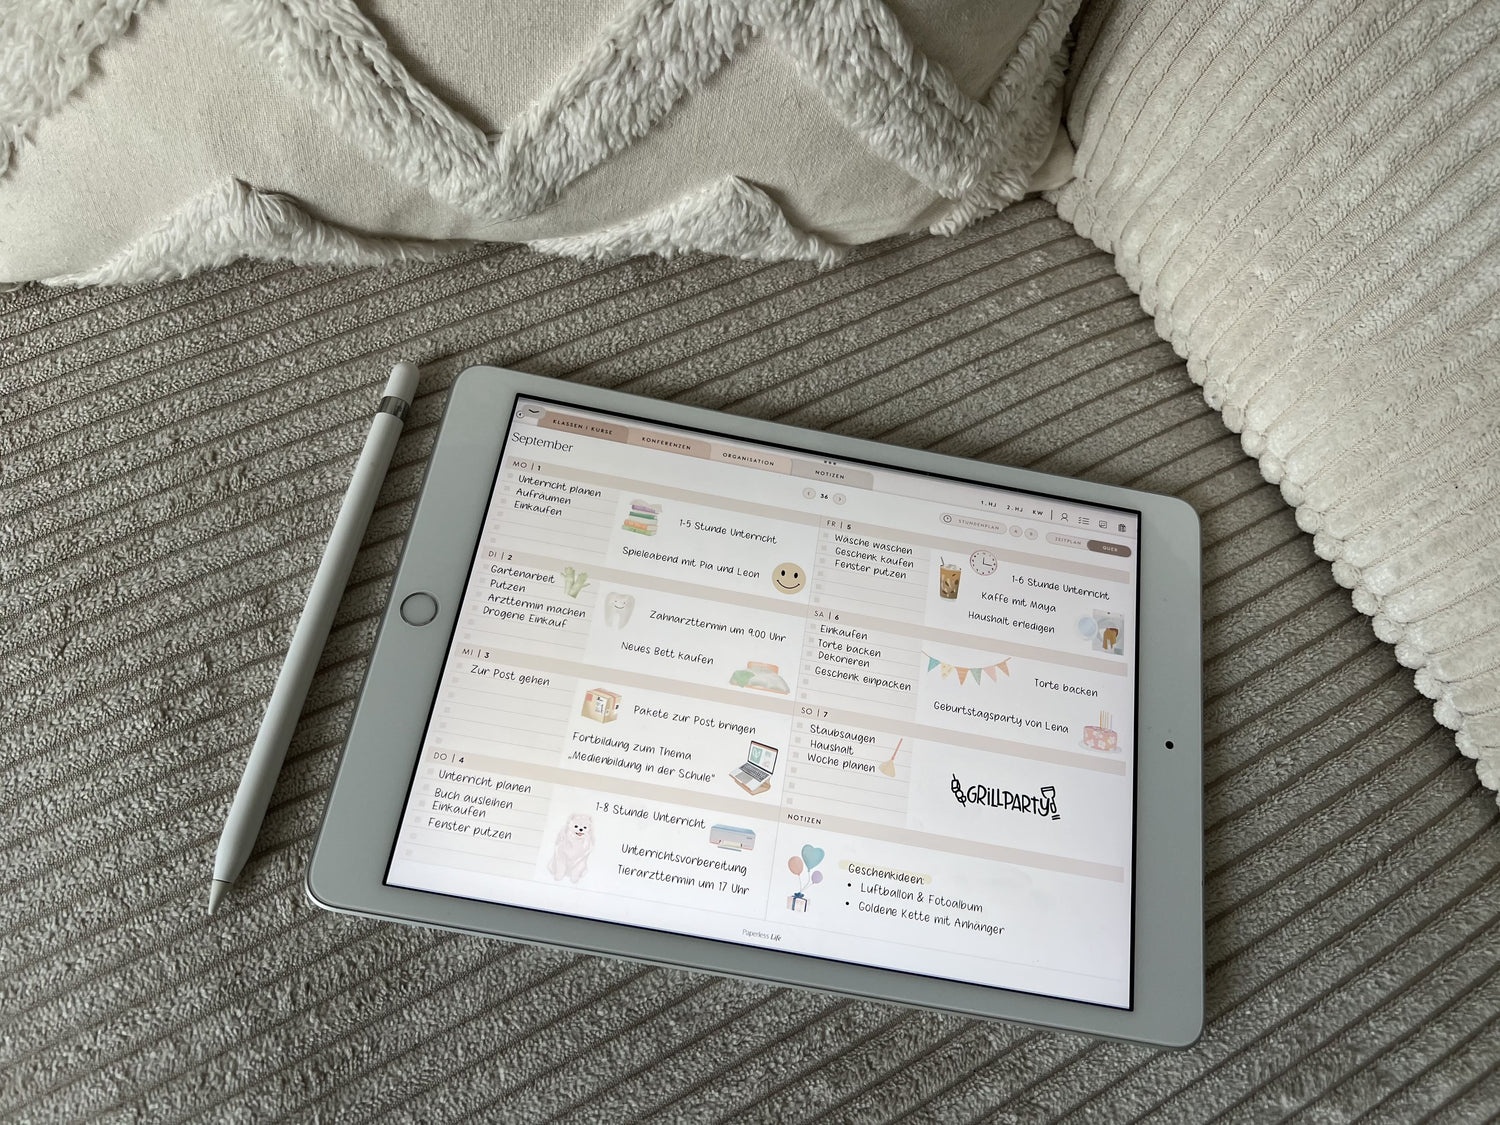
My tip: In addition to these fonts, you'll mostly find our Paperless fonts in my digital planners. I use the standard Paperless font especially for my daily planning, while the Paperless Journal font is especially useful for writing my diary!
Here's a glimpse into my digital gratitude journal... 
Conclusion: Your notes deserve more than just Helvetica
You don't have to be a calligrapher or a penman to create aesthetically pleasing and structured notes. Thanks to free fonts, apps like iFont, and a few clicks, your digital planner will be a real eye-catcher in no time. I use fonts in Goodnotes every day – simply because they look nicer and make planning more enjoyable.

And the best part? You can always try out new fonts or even digitize your own handwriting for an even more personalized note-taking experience. If you want to learn how, be sure to check it out here!
Here is an overview of all the steps:
-
Download the iFont app from the App Store.
-
Open iFont and select the DaFont platform under Font Finder .
-
Filter by topic (e.g. school, handwriting, etc.) and select a font.
-
Click Download and import the font.
-
Tap Install > Allow > Close .
-
Open the iPad settings and install the downloaded profile.
-
Start GoodNotes and select your new font in the text field.
-
Activate the scribble feature to automatically use your favorite font.

If you're new to the doodle feature in Goodnotes , you should definitely try it out—not only does it save you time, but it also makes your planning much more visually structured and appealing! We introduce this feature in more detail and explain how it works on our YouTube channel:
Click here for the YouTube video Click here for the YouTube video


9 comments
Sie schrieben, dass sie in Kürze eine neue kostenlose Lösung auf Ihrem Blog uploaden. Wird das noch dauern? Könnten Sie im Vorfeld die kostenfreie Lösung nennen?
Vielen Dank bereits!
———
Paperless Life:
Hallo Steffi, vielen Dank für deine Nachfrage!
Der Blogbeitrag ist nach wie vor aktuell – iFont lässt sich wieder kostenfrei nutzen. Wenn dir die Werbung für das Jahresabo angezeigt wird, musst du nur oben links genau hinschauen: Dort gibt es ein kleines „x“, mit dem du die Werbung schließen kannst. Danach kannst du iFont ganz normal kostenlos verwenden.
Für unsere eigenen Schriftarten haben wir außerdem eine Lösung, die komplett ohne App funktioniert. Die Anleitung dazu findest du direkt im Download. Nur wenn du andere Schriftarten aus dem Internet installierst, brauchst du weiterhin iFont oder eine ähnliche App.
Papierlose Grüße
Robert
>
Ich würde gerne eine der wunderschönen Schriften kaufen, doch leider wird mir Ifont nur als kostenpflichtige App angezeigt, die ein monatliches oder jährliches Abo erfordert.
———
Paperless Life:
Hallo Katrin, vielen Dank für den Hinweis. iFont ist tatsächlich nicht länger kostenfrei. Wir haben bereits eine kostenfreie Lösung gefunden, ohne die Verwendung externer Apps und werden den Blogbeitrag schnellstmöglich updaten. Falls du nicht so lange warten möchtest, dann melde dich nach dem Kauf und ich schicke dir ein Video zur Installation der Schriftart. Papierlose Grüße Robert
>
Wow! Danke danke!
Es erleichtert mir so die Arbeit!
Erstmal vielen Dank für das Tutorial! Ich hätte das ohne Hilfe niemals gefunden.
Ich hab mir einen Font runtergeladen, der sehr viele Sonderzeichen enthält. Mir geht es quasi nicht um die Schriftart an sich, sondern um viele viele extra Zeichen. Allerdings fehlt mir jetzt das Verständnis, wie ich zu diesen Sonderzeichen komme ^^‘
Also mit deiner Hilfe hab ich alles installiert bekommen und es wird mir auch angezeigt, aber jetzt fehlt mir der letzte Schritt. Kannst du mir da einen Tipp geben?
Außerdem ist mir aufgefallen, dass der Font in GoodNotes hervorragend funktioniert (soweit ich das ohne Sonderzeichen bisher bewerten kann), aber in Word kann ich genau einen Buchstaben schreiben und dann switched es wieder zu einer anderen Schriftart. Hab ich da irgendwas falsch gemacht?
———
Paperless Life:
Hallo Luisa, da kannst du leider nichts machen. Manche Schriftarten haben einfach nicht alle Zeichen. In deinem Fall fehlen ein paar Sonderzeichen und Goodnotes springt dann zur Standardschriftart. Du wirst einfach eine andere Schriftart testen müssen.
Hallo, du meinst, du willst die Schriftarten auf der Seite, wo du sie herunterlädst filtern? Das ist bei dofont möglich. Dort gibt es vielen Kategorien für Schriftarten wie z.B. “Schule”. Du findest sie unter dem Reiter “Themen”. Warum die Schriftarten durch die Goodnotes-Version beeinflusst werden sollten, erschließt sich mir nicht. Vielleicht hilft da ein Update (Goodnotes + iOS) + Neustart. Liebe Grüße Anna