I love making my planner pages beautiful and appealing. Besides stickers, beautiful fonts are a must. But it can be frustrating when the font in Goodnotes keeps changing and you have to reset it again and again. 😩
And that's where one of my favorite features comes into play: converting handwriting to typewriting! 🙌🏼 Because whether it's for your digital teacher's calendar, your recipe book , or your personal journal – sometimes you just want things to look consistent, legible, and structured. And that's surprisingly easy with Goodnotes handwriting recognition! 
In this blog post, I'll show you three easy ways to convert your handwriting into text in Goodnotes—plus a few handy tricks that have saved me a few times! 🤩
💡 Why convert at all?
I love the feeling of writing by hand—but sometimes I just need to be quick. Whether it's for a beautiful worksheet or my digital weekly overview: converting it to typescript instantly makes even chaotic notes look organized! 😅 
All advantages at a glance:
✅ Saves you valuable time (and nerves!)
✅ Looks like printed – only more personal 😉
✅ Your notes are immediately ready for further use
✅ No more guessing: no more tedious deciphering!
✍🏼 Option 1: The Goodnotes doodle feature
This feature converts your handwriting in real time as you type! 😍
What is the scribble feature?
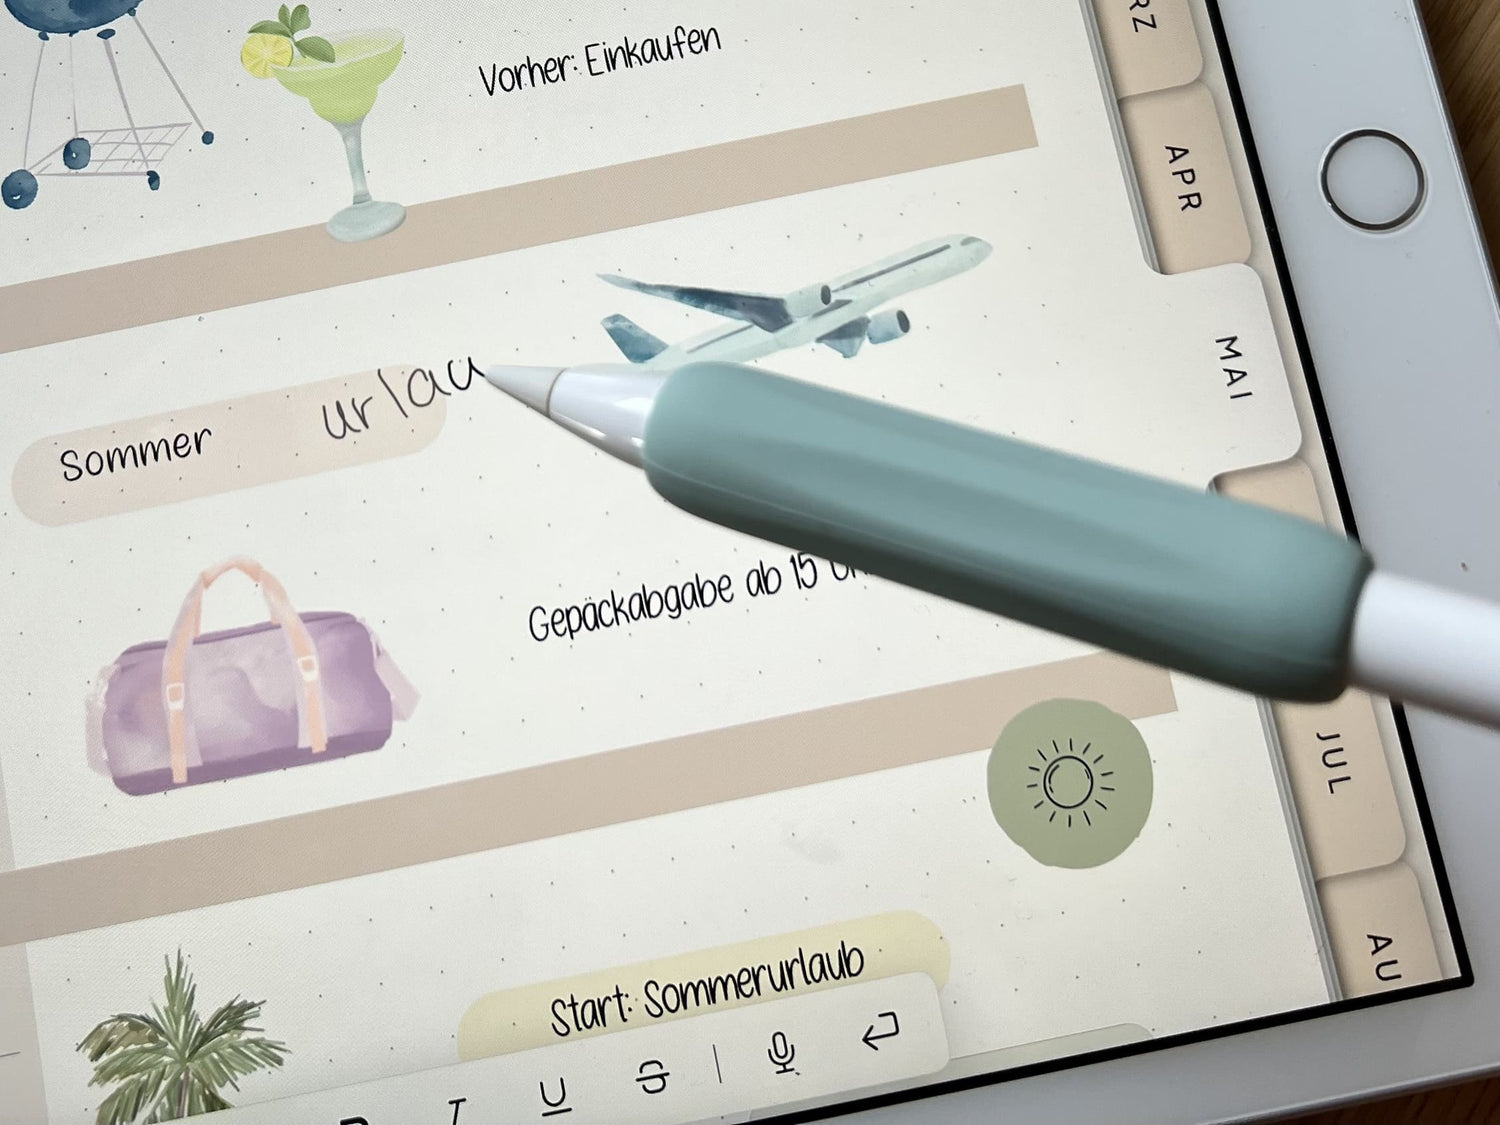
With the iPad's scribble feature and Goodnotes' handwriting recognition, you can write directly into your digital planner—and your handwritten letters will be automatically converted into typed text. It works as you type ! 🪄
📲 How do I activate it?
-
Make sure Scribble is enabled in your iPad's settings (under Apple Pencil > Enable Scribble ).

-
Open Goodnotes and switch to the text tool.

-
Now you can simply start writing with Apple Pencil – and see how your text is converted live!

📝 Requirements:
-
Only for iPad with Apple Pencil (from iOS 14)
-
Current Goodnotes version
-
Only possible with the Text tool, not with the Pen tool
💡 My tips for better recognition:
-
Write a little slower and pay attention to clear letters
-
Avoid doodling – even if it's called "doodle function" 😄
🔄 Option 2: Subsequent conversion of handwriting into typescript
If you prefer to write by hand first and then convert the text later – no problem!
📌 How it works:
-
Write down your desired text
-
In Goodnotes, select the Lasso tool.
-
Mark the area with your handwriting.

-
Tap the selected area and select “Convert.”


-
The text now appears as typed text – you can copy, paste, or format it directly!

🤖 My hack for illegible writing:
If you realize: “Damn… even Goodnotes can’t decipher this!” then use the following trick:

-
Let Goodnotes convert the text anyway – even if it contains errors.

-
Copy the text and paste it into Chat GPT.
-
Use the following prompt: “Please correct this text and make it understandable.”


ChatGPT helps you turn your chaos into plain English! 🔥
📸 Option 3: From photo to text – convert text from images
This is my secret weapon for everything I don't want to type! 😅
📷 How it works:
-
Take a photo of the text (e.g. from an old notebook or worksheet) and open your photo gallery.

-
Highlight the text with your finger and select “copy”.

-
Open Goodnotes and paste the text using the T symbol—et voilà! Your text appears without you having to laboriously type it all out!
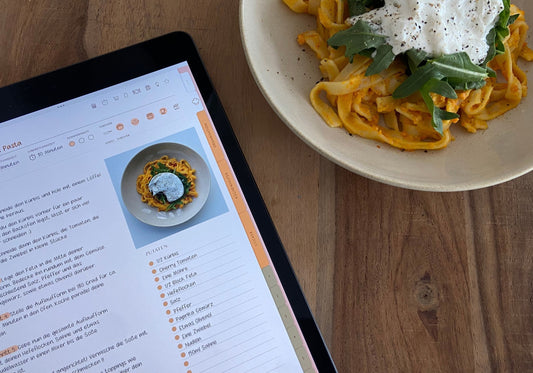
For example, you can take photos of your cookbook and then easily transfer the text into your digital recipe book —or you can photograph old notes and transfer them to your digital diary! 🙌🏼
And if you want to really get started after the conversion...
The three conversion methods are super practical – but what happens next? Once your text is typed, the tedious fine-tuning often begins: adjusting the font size, setting line spacing, finding the right font... and suddenly you're spending more time on the formatting than on the content. 😩 And the worst thing: You've just painstakingly adjusted everything and suddenly – the font changes back to Helvetica!
This is where a real insider tip comes into play: the T-heart feature in Goodnotes! It ensures that your text is not only converted, but also looks consistent, neat, and exactly the way you want it to.

💡 What does the T-heart function do?
This clever feature lets you save your favorite text format—including font, font size, color, line spacing, and style. Once set up, just click the little "T" with the heart, and your text will automatically adopt your desired format. This saves you the hassle of clicking around and gives you a consistent, beautiful layout that you can reuse again and again! 😍
And here's how it works:
-
Select the text field and set the font, font size, and line spacing as you need them.

-
Then go to the T-heart symbol in the top right corner of the bar.

-
Select “Set as default” here.
📌 My tip: Use the T-heart function especially for recurring elements, such as headings, daily schedules, or to-do lists – it not only saves time but also looks much neater!
Here's a glimpse into my to-do planner... 
For everyday notes, I prefer to use our Paperless font . While I was still working at school, the Paperless Chalky Font was a must-have on every worksheet!
⚠️ Important note on special characters & umlauts
As useful as the T-heart function is, not every font is designed to display all characters correctly. Some free fonts (especially decorative or international versions) don't contain umlauts or special characters like ä , ö , è, or ß .
And what happens then? 🤔
Goodnotes automatically replaces the missing character— usually with the standard Helvetica font. This means you might be keen to type a word with an umlaut—and suddenly, your entire word looks like a foreign object in the layout. 😬
💬 Free DaFont fonts with umlauts:
To help you avoid this problem, I'd like to share with you my three favorite fonts, which you can download for free from DaFont and use in Goodnotes:

-
Quicksand – modern, clean & with a soft look
-
Architect's Daughter – as if by hand, but with structure ✍🏼
-
Letters for Learners - perfect for use in the digital teacher calendar
All three include umlauts and special characters and can be perfectly integrated into your everyday planner—without any unwanted font changes. 🙌🏼
📝 Conclusion: Plain text with style – this is how it works digitally & efficiently!

Whether you prefer to convert as you write or later, Goodnotes makes it easy to bring order and style to your notes. Especially when combined with other digital tools, you can save a lot of time while working in a structured and beautiful way. For example, if you use your own handwriting as a digital font, you no longer have to concentrate on neat writing; you can just get started and use your notes perfectly later! You only have to write neatly once, and you can benefit from it again and again! 😍
You can learn how to use your own handwriting as a font in Goodnotes in one of our other blog posts—be sure to check it out!